Draw Toolbar in Autocad 2015
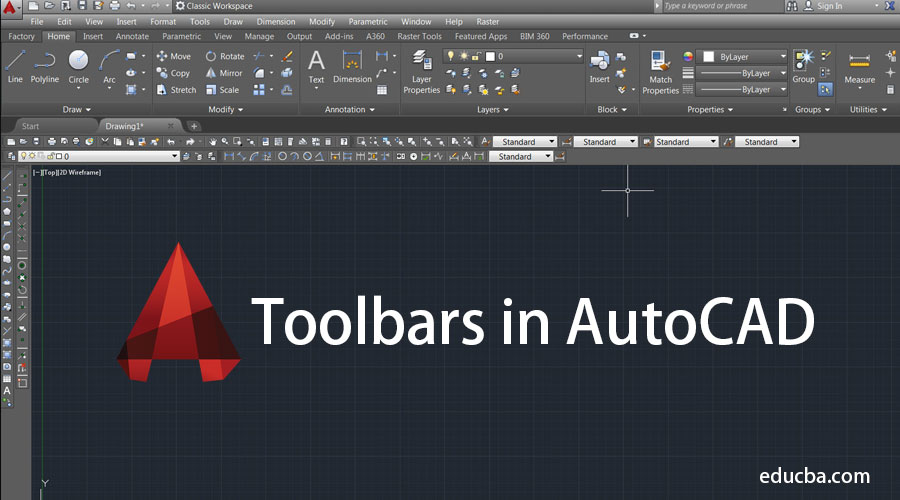
Introduction to Toolbars in AutoCAD
AutoCAD is a commercial aided designing software used for different designing purposes. When you learn about AutoCAD very first, you have to learn about the toolbars. Herewith this tutorial, you will have good command on the toolbars and once you have good command working on AutoCAD becomes an easy game for you.
In Toolbars, we learn about the different types of designing tools such as line command, circle command, dimensions command, text command, and many more. Let us start our tutorial with great enthusiasm and make AutoCAD an easy task for us.
Familiarize yourself with ToolBars of AutoCAD
Here we learn about all major tools of toolbars in a step by step manner. According to our drawing, we also learn about setting a limit in AutoCAD because it is a necessary part of AutoCAD drawing. We will also have a look at how to restore ToolBars if it is not showing in our working area.
Restoring of ToolBar
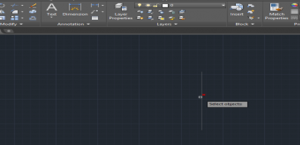
Here we have no toolbar on our workspace.

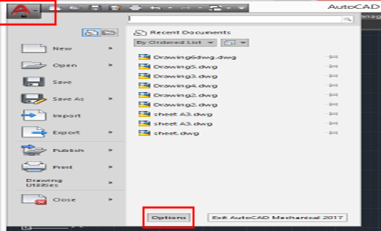
Step 1: For the restoring toolbar, just clicks on the AutoCAD symbol, i.e. 'A' and click on the options button.
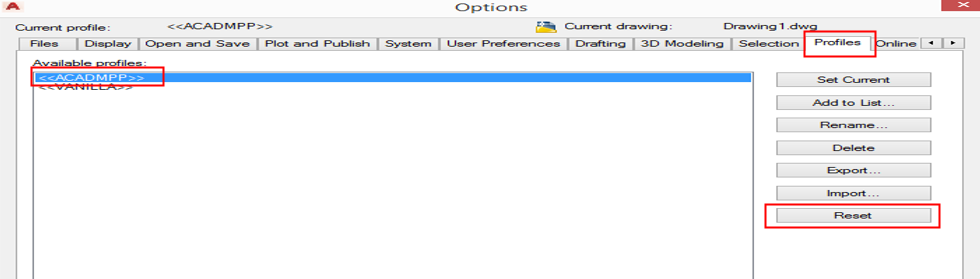
Step 2: Then click on Profile and choose the blue highlighted option as shown in the below image and click on the Reset button.
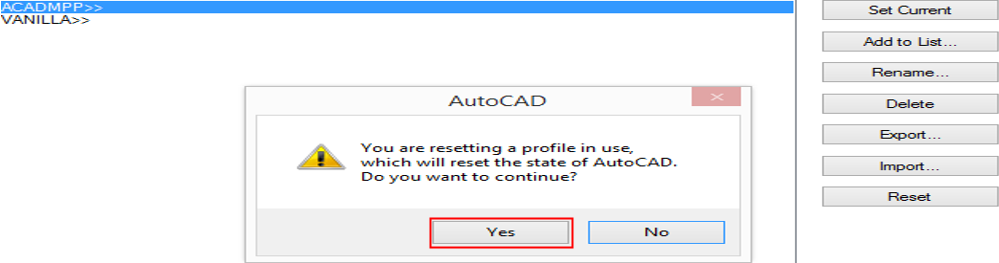
Step 3: After resetting, a dialog box will open as shown in the below image, then click on Yes or press OK.
Step 4: Your Toolbars will be restored now, and you can see them here.

Setting Limit in AutoCAD
Step 1: Type the first three letters of the limit command, i.e. lim, and it will automatically show the limits option; then, choose it and press Enter key it will ask for the lower limit of your workspace and the upper limit one by one.
Step 2: I will set a lower limit (0,0). Here, I am considering units in mm. and after applying the limit, press Enter and again 'z' then Enter and again 'A' then Enter.

Step 3: And setting upper limit according to my drawing suppose (100, 100). Here I am considering units in mm. and after applying the limit, press Enter and again 'z' the Enter and 'A' then Enter.
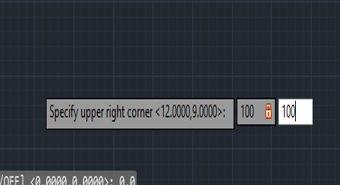
Now the workspace has been set according to our drawing.
Group of Tools
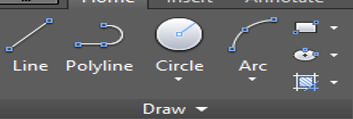
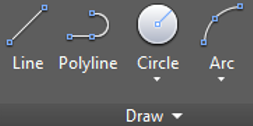
Let's start our introduction to tools one by one. We have different groups of the tool here, such as Draw, Modify, Annotation, etc. We will learn about all the groups.

1. Line Tool
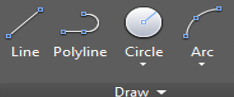
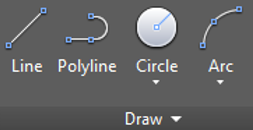
Step 1: Take line command from draw group tool by simply left-clicking on it.
Step 2: Next, we will specify the first point from where we want to start our line by simply clicking on the working area and then set a length of 60 mm- then press Enter key.
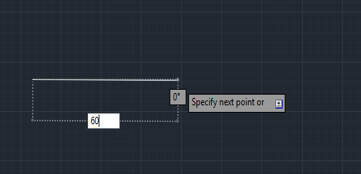
Step 3: For creating a straight-line, turn 'Orth On' by pressing F8 on the keyboard or click on the Orth option at the lower right corner.
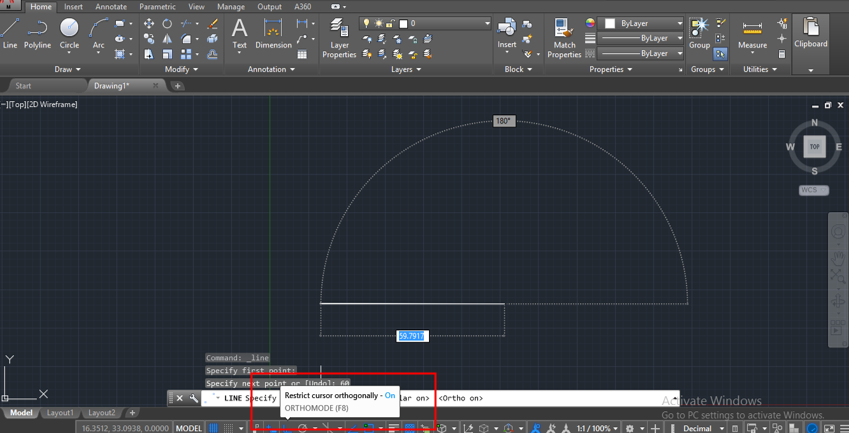
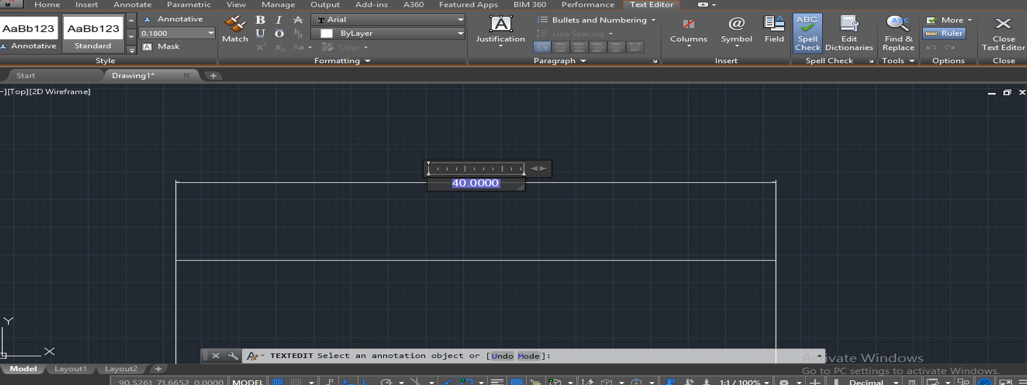
Step 4: Here, you can draw a line with any angle and first give length, press the tab key, and give angles. I will give length 40 mm, an angle of 30 degrees and press Enter key.
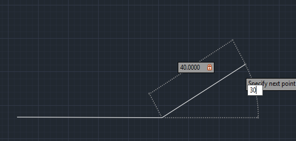
Step 5: For exiting from any command, press Enter or Esc key on the keyboard.
2. Polyline Tool
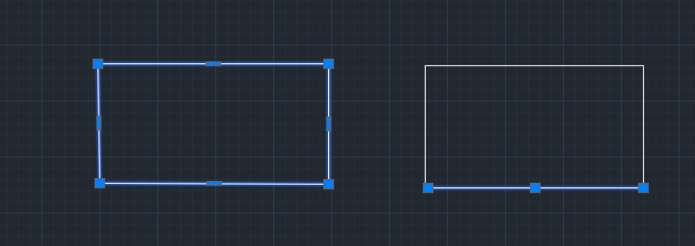
Step 1: Take polyline command to draw toolbar group and follow the same steps as we did in the line command.
Step 2: The major difference between line and polyline is that the object created by line does not work as one object, but polyline makes one object, as shown in the below image.
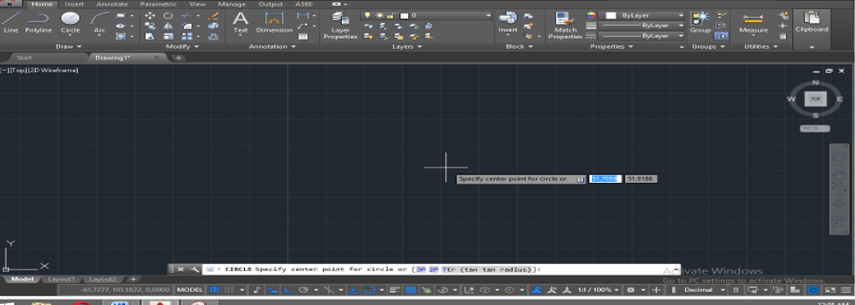
3. Circle Tool
Step 1: Take circle command from the Drag tool group.
Step 2: Now specify the first point.
Step 3: Give the radius and press Enter key.
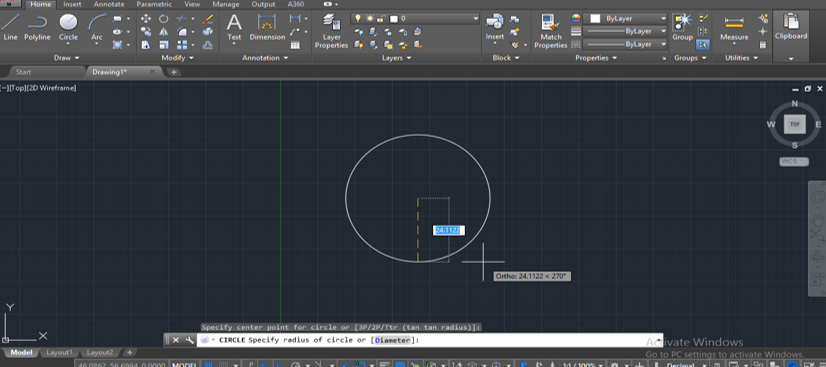
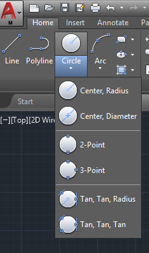
Step 4: We have different types of circle drawing options in the circle command; you can use them according to your requirement.
4. Arc Tool
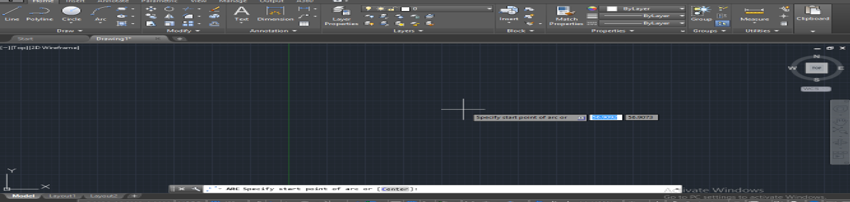
Step 1: Arc command is used for creating an arc in different types of drawings.
Step 2: Take the arc command and specify the start point by clicking on any point.
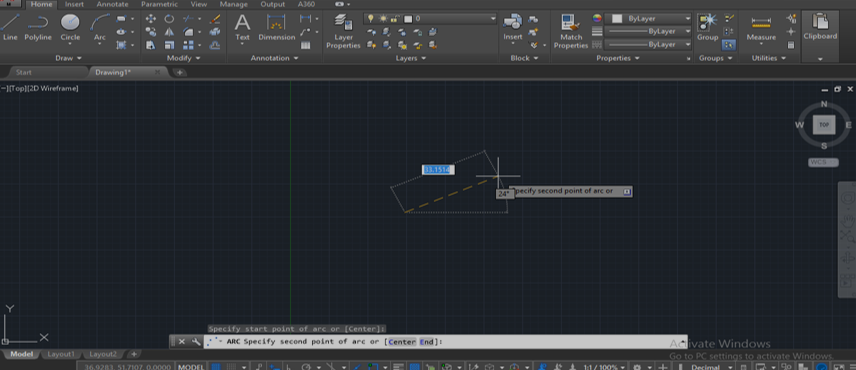
Step 3: Give the value of the second point where you want the arc.
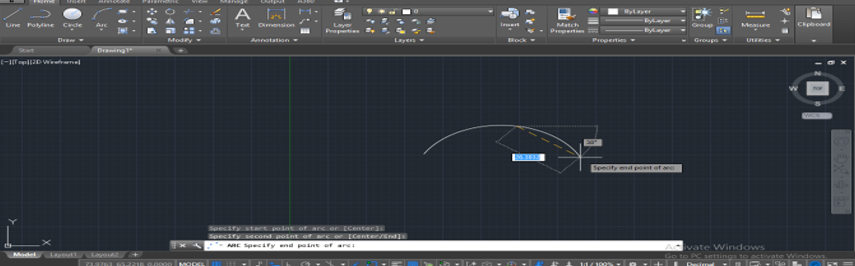
Step 4: Specify the endpoint or value where you can connect the arc or end the arc.
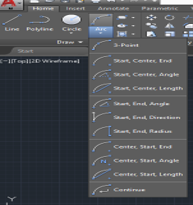
Step 5: We have different types of arcs here, which we use according to our requirement.
5. Rectangle Tool
Step 1: Take a rectangle tool from the draw tool group.
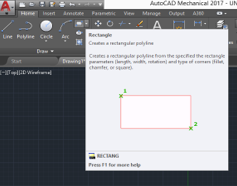
Step 2: Give the first corner from where you want to draw a rectangle.
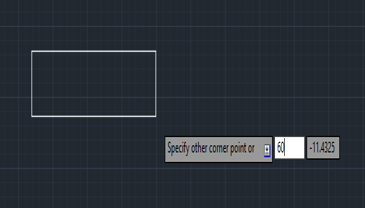
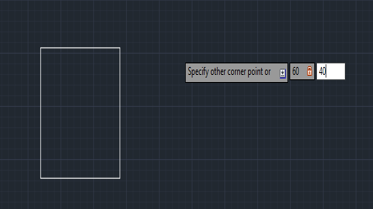
Step 3: Then give length and press tab to give breadth according to you and press Enter.
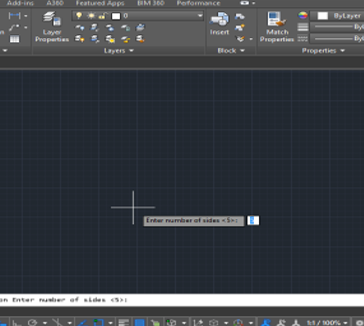
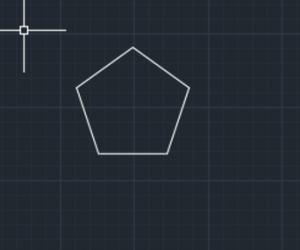
6. Pentagon Tool
Step 1: Take the pentagon command from the draw tool group. For drawing it, first, give the number of sides press Enter key.

Step 2: Give the center point of the pentagon.
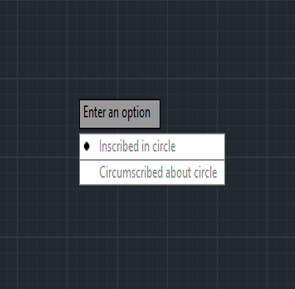
Step 3: It will ask now whether it is inscribed in a circle or circumscribed about a circle; select anyone according to your requirement.
Step 4: Give radius and press Enter to complete the command.
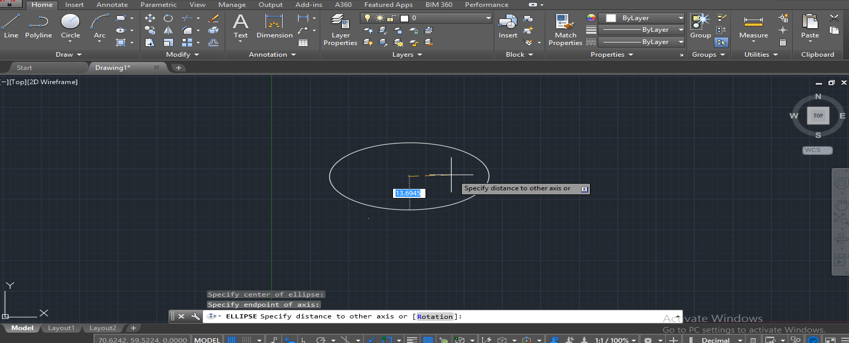
7. Ellipses Tool
Step 1: Take the ellipses tool from the draw tool group.
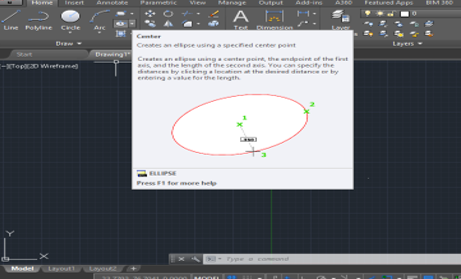
Step 2: Specify center point and give the endpoint.

Step 3: Set the radius according to your requirement and left-click to complete the command.
Modify Commands in AutoCAD Toolbars
We use this command group for creating any type of modification in the drawn objects. Let's take a look at some modified commands.
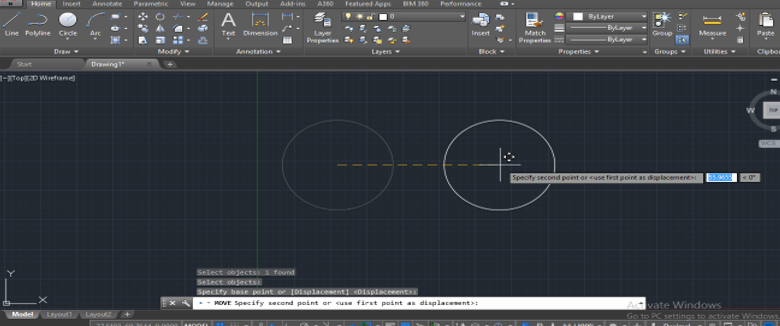
1. Move
Step 1: It is used for moving an object from one place to another place.
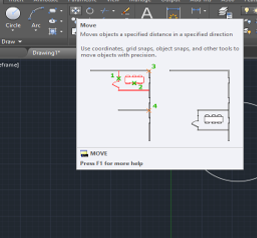
Step 2: For moving, take the move command, select the object, press Enter key, and give the base point.
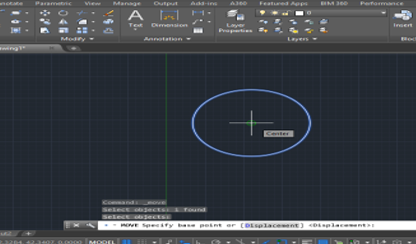
Step 3: Give the direction and distance at which point you want to.
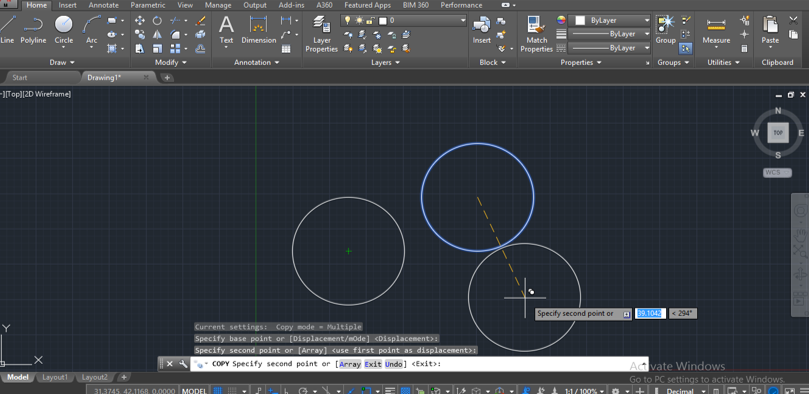
2. Copy
Step 1: It is used for copying the object. Take copy command and select object then press Enter key and give base point.
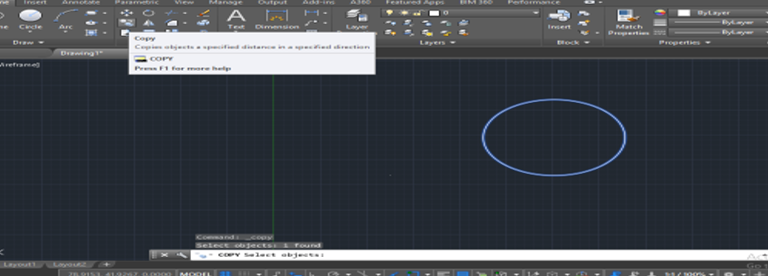
Step 2: Give direction and click to leave the copied objects. You can make multiple copies at a time.
3. Mirror
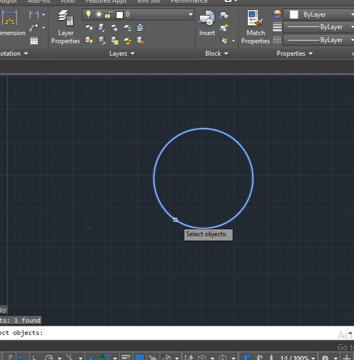
Step 1: It is used for making the mirror of the object.
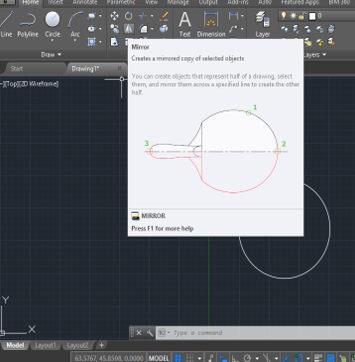
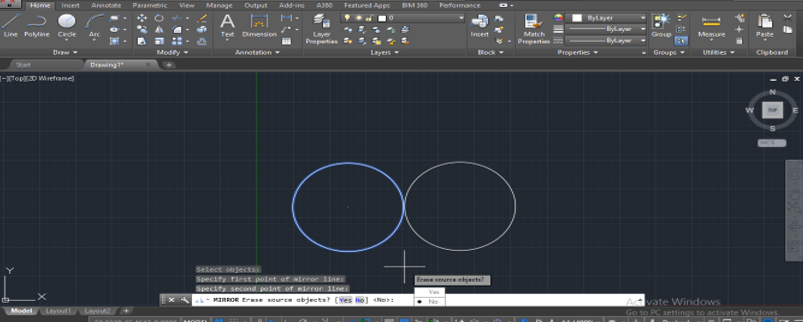
Step 2: Take mirror command and select object, then press Enter key.
Step 3: Give the mirror line, then press Enter key; say Yes to delete the original object or No if you don't want to delete it.
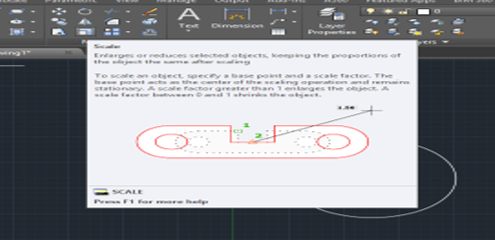
4. Scale
Step 1: Take scale and select object, then give base point.
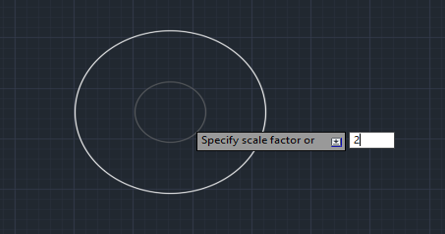
Step 2: Give scale factor and press Enter key.
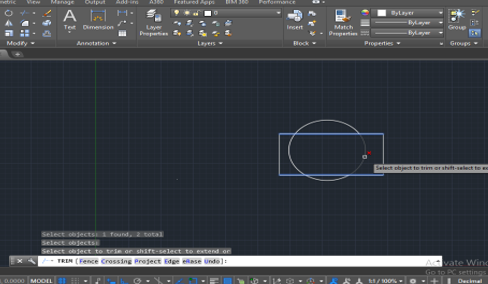
5. Trim
Step 1: Take Trim
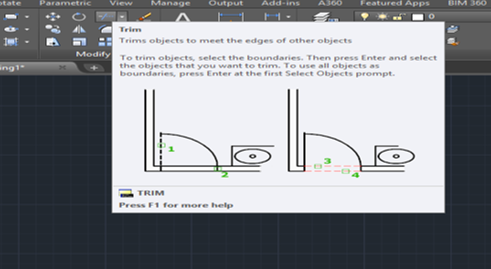
Step 2: Select cutting edge, then press the Enter key.
Step 3: Select the trimming line and click to trim it.
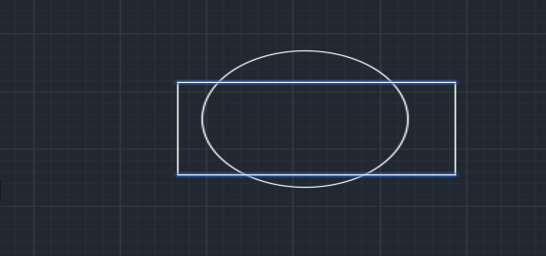
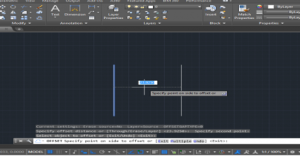
6. Offset
Step 1: Take the offset and give base points.
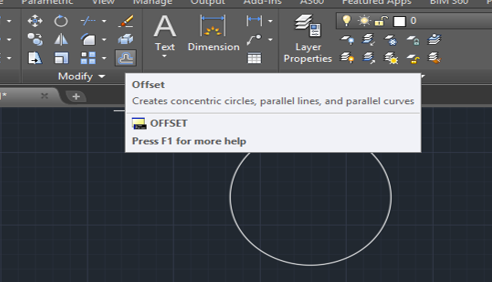
Step 2: Press the Enter key to give direction and click to apply this command.
7. Erase
Step 1: Select the Erase option.
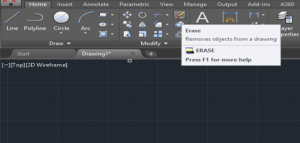
Step 2: Select the object and press Enter.
Annotation Command Group
Let us look at the options in the Annotation command group.
Dimension Command
Select the object first point and drag to the second point, click and drag in the vertical direction to show dimension.
Layer Command
Go on layer property.

Create different layers.
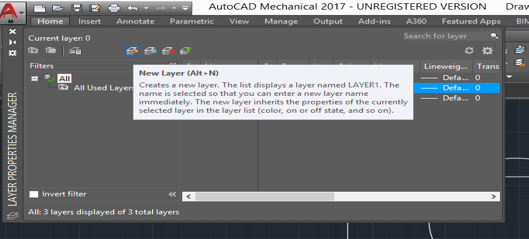
Set colors and style.

Use them according to use by choosing them one by one at a time.

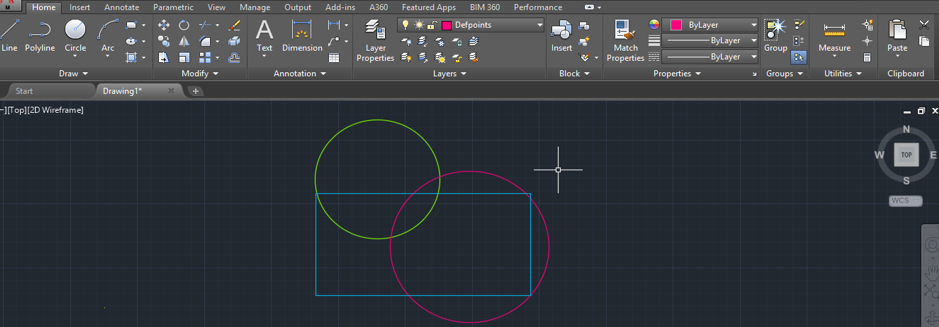
Final result.
Conclusion
Now, after becoming familiar with the tools of AutoCAD, you will find a big change in your knowledge about AutoCAD tools. AutoCAD tools are no more question mark for you. After this session, you will definitely enhance your expertise in AutoCAD designing.
Recommended Articles
This has been a guide to Toolbars in AutoCAD. Here we have discussed an overview on AutoCAD, restoring toolbars in AutoCAD, with different groups in toolbars. You can also go through our other related articles to learn more –
- Template in AutoCAD
- Install AutoCAD
- Advantages of AutoCAD
- Lines in AutoCAD
Source: https://www.educba.com/toolbars-in-autocad/
0 Response to "Draw Toolbar in Autocad 2015"
Post a Comment